
Note: If you’re viewing this post in a language other than English, your browser might be using automatic translation. While that’s helpful, some words or phrases might not come through exactly as intended. Thanks for understanding!
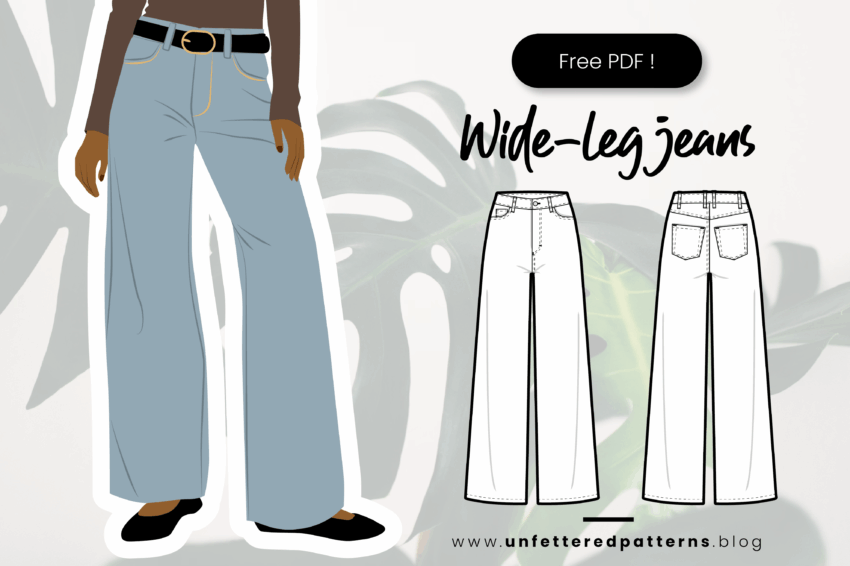
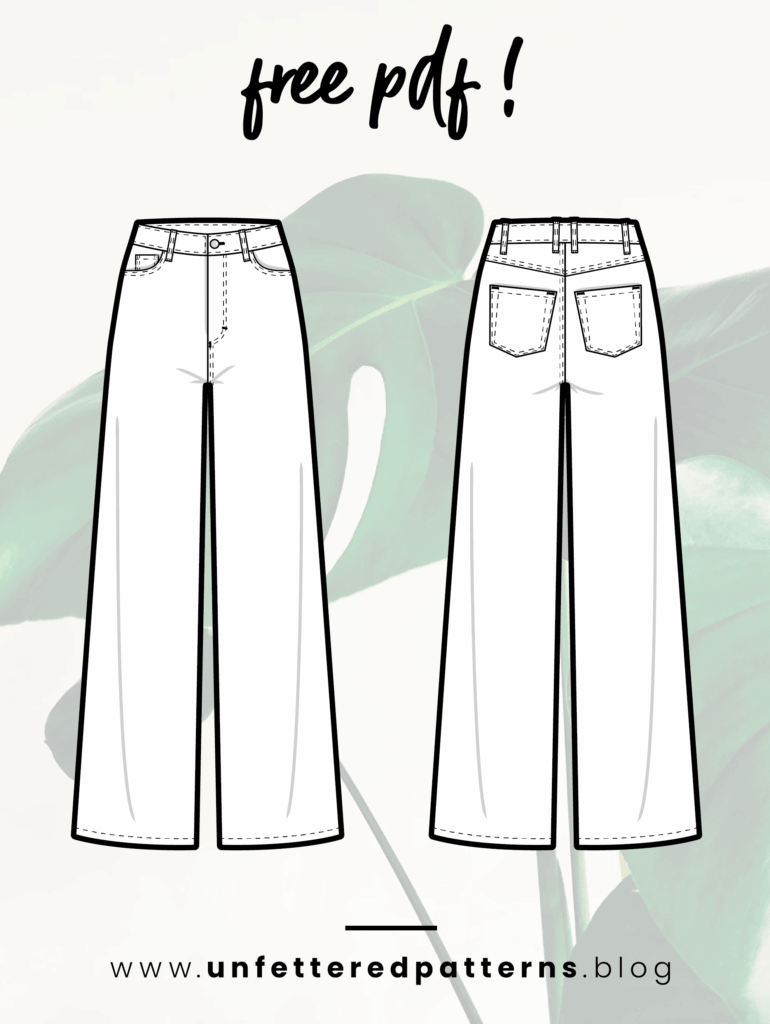
A true wardrobe essential, these high-waisted jeans blend timeless design with modern ease. Crafted for non-stretch denim, they feature a classic 5-pocket layout, front fly, and wide-leg silhouette that flatters and moves with confidence. Finished with belt loops and tailored details, they’re a go-with-everything staple—and a satisfying challenge for the seasoned sewist.
Download the FREE PDF sewing pattern, and sew your own trendy jeans now!
1 cm (3/8″) seam allowance included!
Material
- 2 m (2 1/4 yd) 10-12 oz denim
- 0.5 m (5/8 yd) light poplin
- 1.2 m (1 3/8 yd) fusible interfacing
- All-purpose thread
- Jeans needle (size 16-18)
- Topstitch thread (optional)
- 1x metal zipper, 15 cm (6″) long
- 1x jeans button, 1.5 cm (5/8″) wide
- Buttonhole cutter or seam ripper
- Hammer
Important: Fabric requirements are based on a fabric width of 150 cm (59″). If your fabric is narrower, additional yardage may be required.
Download the free PDF sewing pattern…
… and once you’re done, share a photo of you wearing proudly your new wide leg jeans with #unfetteredpatterns or tag us @unfetteredpatterns!
Need help to print your pattern? Check our detailed tutorial here! Also, find out how you can customize your pattern for A0 printers and projectors here.
Need help completing the project?
Check our Kofi store for printable sewing tutorials, including detailed sewing instructions, line sketches, a sizing guide, and a list of the materials needed!

Sizing Guide
This pattern is drafted according to the following body measurements. Standard height is 1.64 m (5.4 ft). Check this tutorial if you want to add sizes to your pattern!
| XS | S | S/M | M | M/L | L | XL | |
| Bust | 85 cm (33 1/2″) | 89 cm (35″) | 93 cm (36 1/2″) | 97 cm (38″) | 101 cm (39 1/2″) | 105 cm (41″) | 109 cm (42 1/2″) |
| Waist | 64 cm (25 1/2″) | 68 cm (27″) | 72 cm (28 1/2″) | 76 cm (30″) | 80 cm (31 1/2″) | 84 cm (33″) | 88 cm (34 1/2″) |
| Hips | 92 cm (36 1/2″) | 96 cm (38″) | 100 cm (39 1/2″) | 104 cm (41″) | 108 cm (42 1/2″) | 112 cm (44″) | 116 cm (45 1/2″) |
Finished garment measurements
Ease is included in the measurements below to make the garment larger than the body.
| XS | S | S/M | M | M/L | L | XL | |
| Waist | 67 cm (26 1/2″) | 71 cm (28″) | 75 cm (29 1/2″) | 79 cm (31″) | 83 cm (32 1/2″) | 87 cm (34″) | 91 cm (35 1/2″) |
| Hips | 94.5 cm (37 1/4″) | 98.5 cm (38 3/4″) | 102.5 cm (40 1/4″) | 106.5 cm (41 3/4″) | 110.5 cm (43 1/4″) | 114.5 cm (44 3/4″) | 118.5 cm (46 1/4″) |
| Rise | 27.5 cm (10 3/4″) | 28 cm (11″) | 28.5 cm (11 1/4″) | 29 cm (11 1/2″) | 29.5 cm (11 3/4″) | 30 cm (12″) | 30.5 cm (12 1/4″) |
| Inseam | 72 cm (28 1/4″) | 72 cm (28 1/4″) | 72 cm (28 1/4″) | 72 cm (28 1/4″) | 72 cm (28 1/4″) | 72 cm (28 1/4″) | 72 cm (28 1/4″) |
Sewing Guidelines
Here are some tips we recommend for a successful sewing project:
Fit and style
- Choose a size according to your hips measurements, referring to the body measurements chart. If your waist corresponds to another size, you can widen or taper the waist on the pattern as needed. To do so, shift the waist/side seam corner.
- On the finished garment measurements chart, you can also check the length of the garment and see if it’s suitable for your height. You may want to compare the length with a similar piece of clothing. These pants are full-length, so they should cover your ankle when sitting down.
- If you need to shorten or lengthen the pants to achieve this look, slash the pattern above the hemlines, as well as above the hip notches. Slash perpendicularly to the grainline, and spread to add length, or overlap to shorten. When you spread the pattern, fill in the gap with scraps of paper. Tape everything back in place.
- I recommend that you add more at the hemlines than above the hips. For instance, if you want to lengthen your pants by 6 cm (2 1/4″), add 4 cm (1 1/2″) to the hemlines, and 2 cm (3/4″) above the hips.
Fabrics
- This pattern is adapted for non-stretch fabrics only. I recommend that you pick medium-weight denim (10-12 oz), depending on the strength of your sewing machine. Don’t hesitate to use lighter denim if you know that your sewing machine struggles with thicker fabric.
- You can also use other woven fabrics such as corduroy, velvet, or twill!
- Be sure that you pick a main fabric and a pocket lining with a similar fiber content so it’s easier to watch the finished garment. For instance, if you’re using a 100% cotton denim, be sure that the pocket lining is also 100% cotton.
Cutting out
- Preshrink the fabric before you start cutting it out. To do so, wash and dry the same way you would with the finished garment. This means you should also take into account the fabric type and its content.
- The dyes used on denim tend to bleed when washed, so wash yours separately!
- Once the fabric is washed and dried, press it to remove all the creases. Be sure that you’ve set your iron to a temperature that is suitable to the fabric. As a rule of thumb, synthetic fibers (acrylic, spandex, polyester…) should be pressed at low heat, and natural fibers (cotton, wool, linen…) should be pressed at high heat.
- When you’re ready to cut into the fabric, fold it lengthwise, right sides together. The fold should not twist and lay flat. If it’s twisting, unfold and fold again, until it lays flat. Then, place the pattern pieces so that the grainline is parallel to the selvages.
- Be sure that you don’t cut the notches too much, they should be about 0.3-0.4 cm long (1/8″).
Sewing
- For safety reasons, it’s important to pick a thicker sewing needle when you sew with denim. Don’t skip over this step! Check for a 16 or 18 size needle, or one labelled for jeans.
- If you wish to use topstitch thread, wind the bobbin with a matching regular thread, and be sure to make a tension test on a scrap of fabric before you start to sew. You may need to increase the tension.
- You need an unusual tool to sew with denim: a hammer. It will be very handy if you need to flatten a few areas that are too thick. Plus, you also need it to install the jeans button.
- If you’re not sure how to sew buttonholes, be sure to check your sewing machine manual. The process will vary from one machine to another.
Good luck with your sewing project!
You can support me on Ko-Fi! Every little bit helps cover the costs of pattern-making software, illustration tools, fabrics, threads, and more. If a donation’s not possible, no worries — you can still support the blog by liking, sharing, and commenting on my posts. Thanks so much!
thanks for the pants pattern .the top in the photo looks really flattering . it will be really interesting if you are able to provide the pattern for it. it will be an interesting project for a beginner
Just FYI Staystitch patterns has a very similar top. You can find her on etsy it’s the Lola tank.
Hello. Thank you
Hello, are the seam allowances all included in the pattern?
Of course, they are added (1cm – 3/8″). It’s written in bold letter at the top of the post. Be sure to read the post because there are important details here for you.
hi, I printed out the pattern but wasn’t sure if there was supposed to be a margin border around the pattern. Please let me know. Thanks for your help and for sharing the wonderful pattern!
hello, I’ve downloaded the pattern and ready to go! What order do I watched the video tutorials, is it just 4 videos I need to watch to put the jeans together? I guess it doesn’t come with instructions (just follow the youtube videos?) Thanks so excited to start this!
Hello! No instructions… check the notes for guidelines and check the video tutorials
Hi Thank you very much for the pattern! I have a question.
Does the pattern include a waistband? In the pattern it is mentioned as “Belt” . Is it it waistband?
If so shouldn’t it be curved or we can use the straight one like in the pattern too.
I’m a beginner, so it wpu;ld be gereat if you could let me know !
Looking forward to your reply.
Hola! donde puedo ver el video para el armado del jeans ?
I feel like the front fly pieces are completely different from the video. As a first-time jeans sew-er, it’s kinda stressful. Not sure where to go next
I found a fly tutorial that uses the same pieces:
https://www.youtube.com/watch?v=-q9i8jfqMg4
Bonjour, merci beaucoup pour le partage de ces modèles et de votre savoir-faire !
Thank you I appreciate your comment!
Hello ! thanks a lot for sharing all these amazing patterns. I tried this one and it fits perfectly 👌
This is my first pants, it fits perfectly! Actually I checked my own pants to put what to where, the shield goes to the right and the fly goes to the left. It turned out really proper, even though I’m this much of a miserable beginner. This is an amazing pattern, a timeless well-fit staple.
Thank you, I’m glad you liked them! Sewing jeans is not easy, so well done!
bonjour ou avez-vous pu trouver le tuto,le livret de couture merci
Bonjour, j’aimerais réaliser ce pantalon, j’ai imprimé,vu pour le tissu, mais comment se procurer le livret de couture pour le réaliser Ça sera mon premier jean donc je ne veux pas me rater Merci
The tutorial is only in English and available at my Kofi shop. You need to check the blog post and click on the “shop now” button.
If I would have made it in the recommended size, it would have been far too big! I’ve put a fitting jeans on the pattern so I would be sure that it would fit, the difference was from a recommended size XL to now well fitted size XS..
Where can I find the wide leg jeans sewing instructions?
Bonjour, où puis-je trouver les instructions pour le jean à jambes larges ? Je viens d’acheter le tutoriel vidéo mais je ne trouve pas la vidéo…
Hello, I’m sorry I don’t have videos. The tutorial you purchased is the only instruction I got.